2.10 Maps
Via Control Panel → Games → Maps
Some games are equipped with a certain map rotation system (Ex. Counter Strike, R6,… ). These rotation systems have a big impact on competitive gaming, therefore, a good setup of these map rotations is very important.

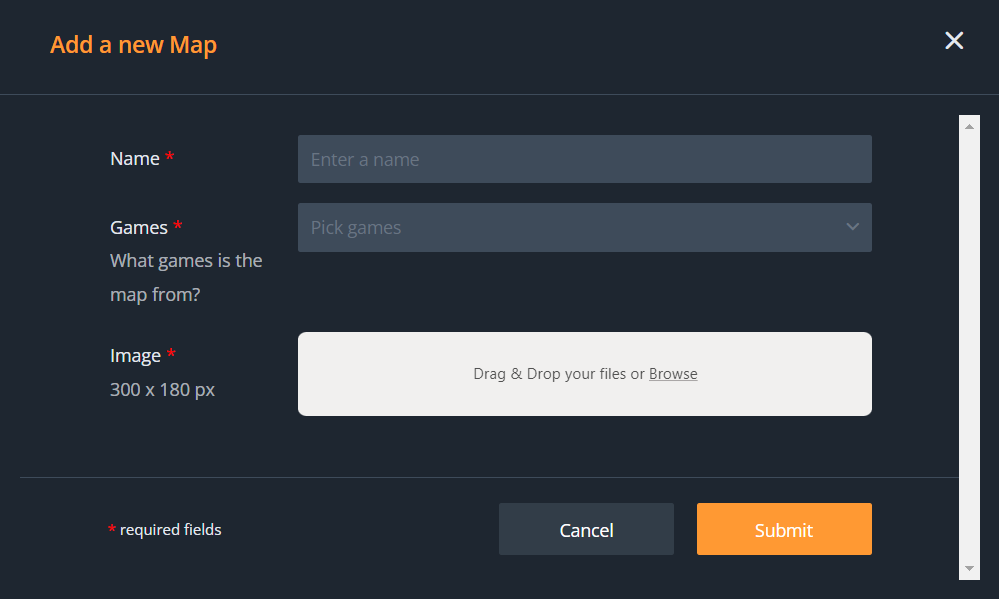
Before making your own custom map groups, you should submit every map in the game and decide whether the map should be active or inactive. In order to do so, either click the ‘Active' or 'Inactive' tab and click the '+Add map’ button:

‘Add a game’ form

Name (*) | Enter the complete and correct name of the map. |
Games | To which game does this map belong? |
Image | Upload an image of the map. |
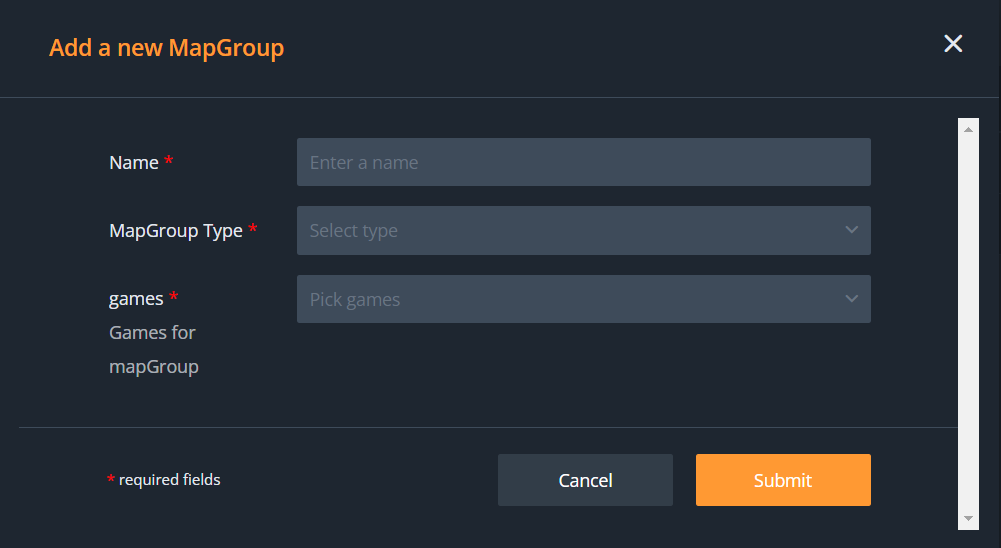
When you have determined which maps of a game should be made active or inactive, it’s time to compose the custom map groups. Click the +'Add Mapgroup' button:

‘Add MapGroup’ form

Name (*) | Submit a name for the custom map group. |
MapGroup Type Different games require different types of map groups.
| Select the preferred type of map group. |
Games | Select the game to which this custom map group applies. |
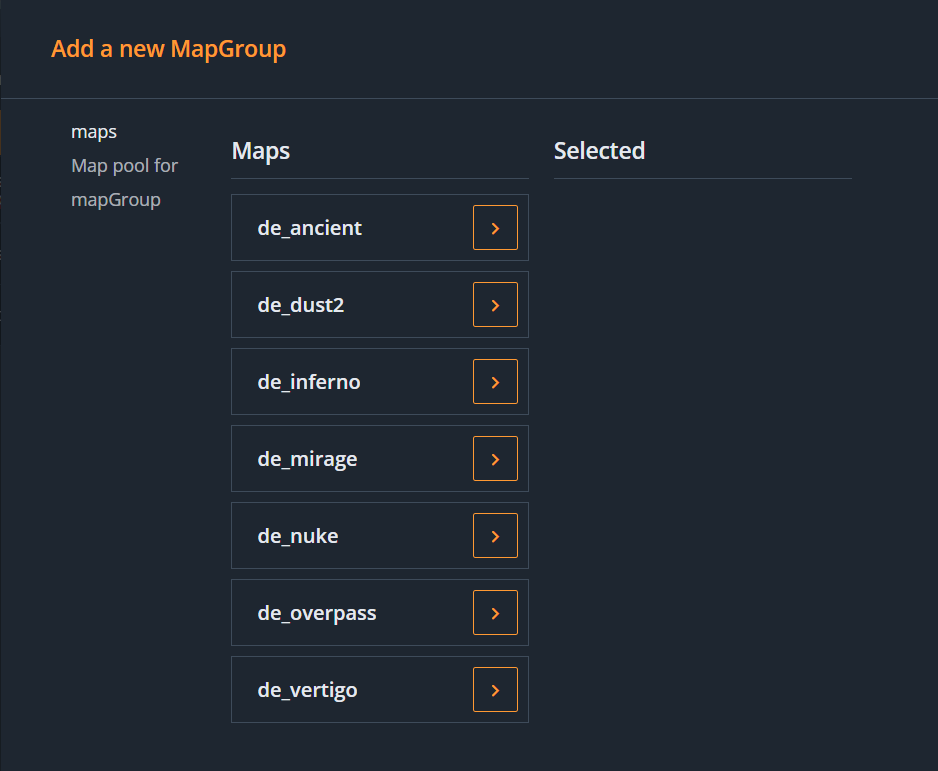
Now that you’ve made your custom map group, all that’s left is putting the maps in the order of your choice. The maps displayed in this overview are determined by the maps you flagged (or didn’t flag) as active/inactive.

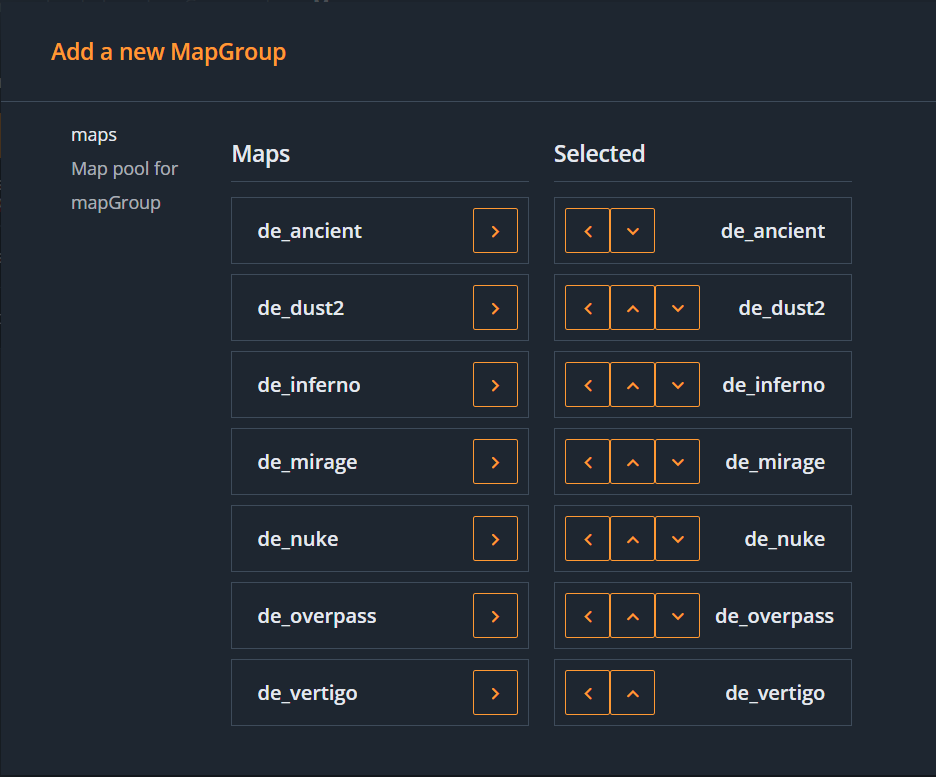
Drag your desired maps for your map group over to the ‘Selected’ column by clicking the arrows on the right side.

You can change up the order of the map group by clicking the upward or downward arrows respectively.
Map pick phase
After setting up the map groups via the control panel, you can select your preferred map group in the game mode setup.
Via Control Panel → Gaming → Games → Maps
During the ‘+ Add gamemode’ process you can choose to enable the map pick phase (Step 6 of 7).

Select your preferred map group in ‘MapGroup to use’ dropdown menu.
