
14.1 Community setup
What are Communities?
Communities are one of the Strivecloud flagship features, allowing users to create their own subspaces on the platform. This subspace will grant users most of the features on the platform as if they’d have their own platform. A community can be created for any number of reasons; uniting players of a certain game(type), a common interest, an e-sports team, etc.
Users can join multiple communities while still being able to engage in general platform activities. On the left side, you can find the main platform icon with the icons of all communities of which the user is a member underneath.
Ex. Homepage of the main platform, with the community menubar on the left side

This is the community menu bar, displayed on the left side.
|  |
|---|
How to create a community
Requesting a community
A user can create a community by submitting a request to an administrator. When and how to start this procedure is something that the platform administrators should make clear to the users. An administrator will first create the community, as shown in the next part.
Setting up a community
Via Main platform → Control Panel → Communities → ‘+Add’ button
Click the ‘+Add’ button:

Name: Submit the official name of the community. Description: Provide some information about the community to display upon arriving on the community home page. Slug: Submit a slug as URL identifier. This should represent the community name in some way and will be used to label and display community content (tournaments, social posts, news, etc.) Tag: An abbreviated version of the slug, often used in mobile view or when only select number of characters can be used. Managing brand: Connect an existing brand to the community. Note: brands can be set up via Control Panel → Partners → Brands Private: Toggle on to make this community private Logo: Upload an image to use as the community icon, displayed in the leftside menu bar. |
|---|
Community configurations
As a main platform admin you can decide which feature configurations are available for community admins. This can be determined for each community:
Via Main platform Control Panel → Communities
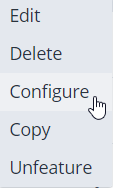
Click the three dots next to the community of which you want to determine the configuration:

Click ‘Configure’:
The following screen will appear:
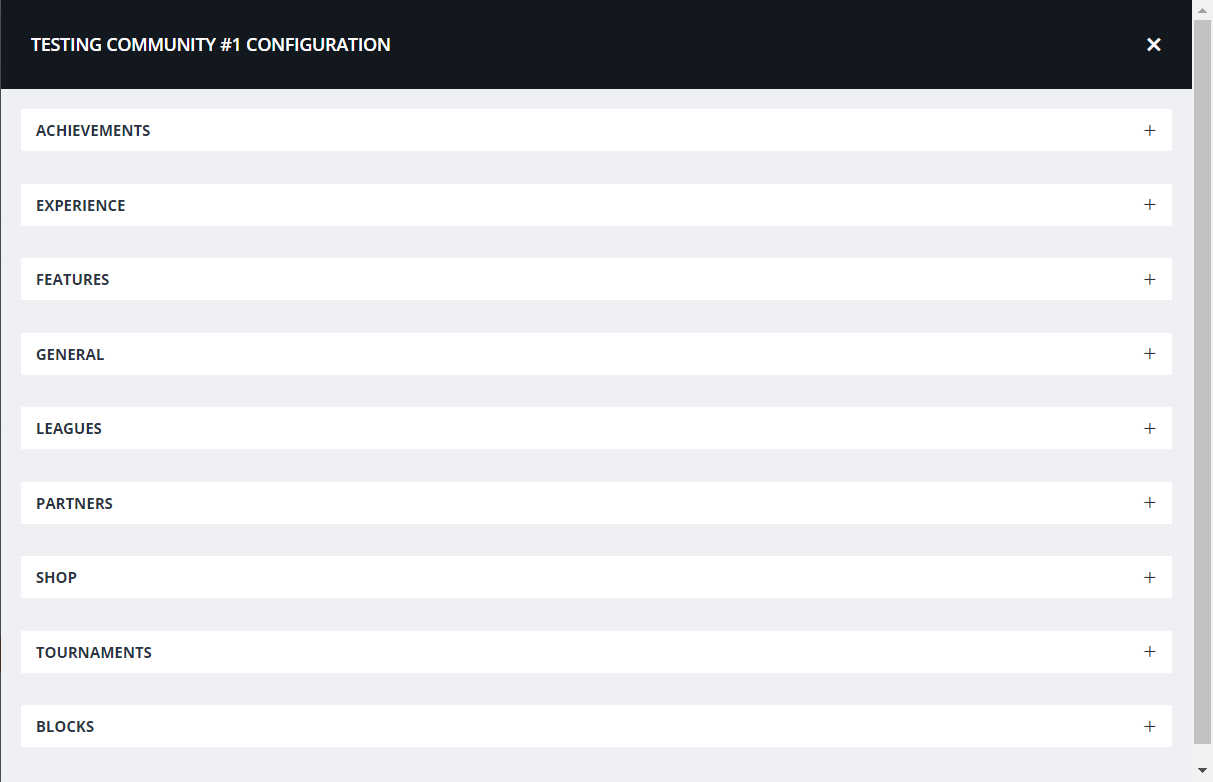
Here you configure the different features for the community
Achievements
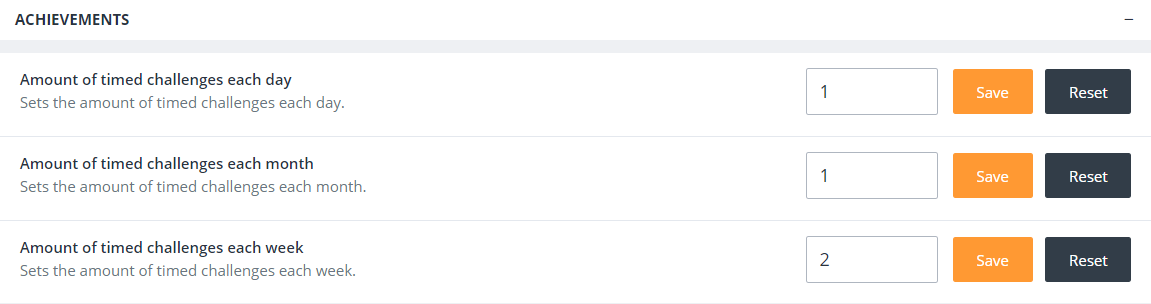
Determine the amount of timed challenges users can complete each day.
Determine the amount of timed challenges users can complete each month.
Determine the amount of timed challenges users can complete each week.
Experience

Determine which experience formula should be used.
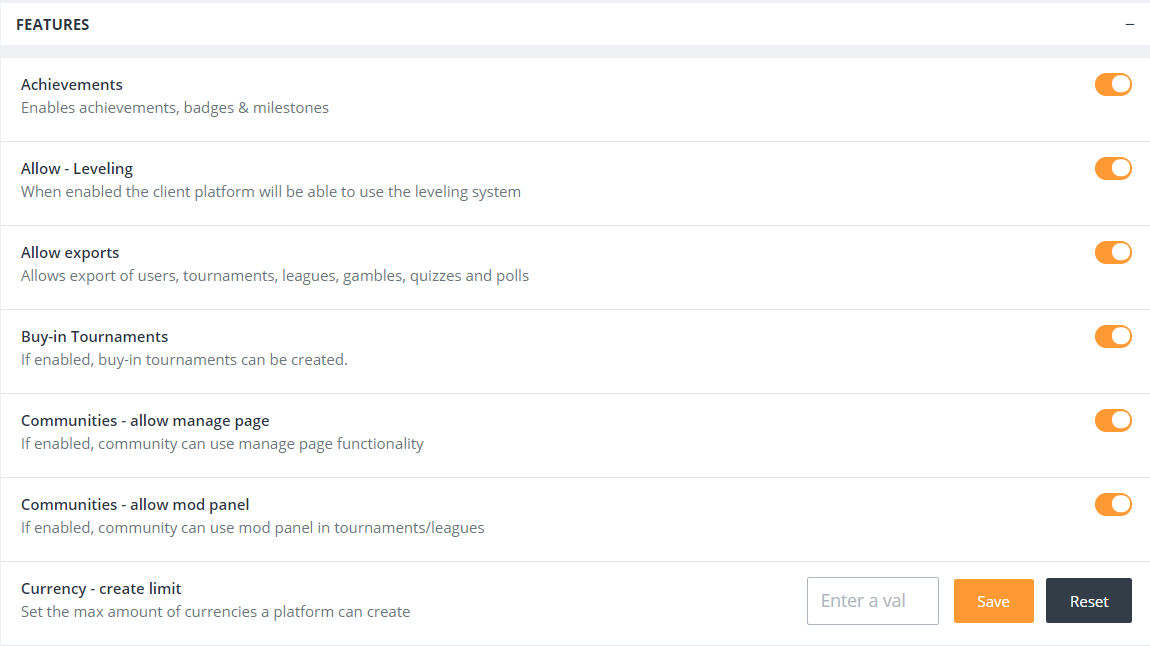
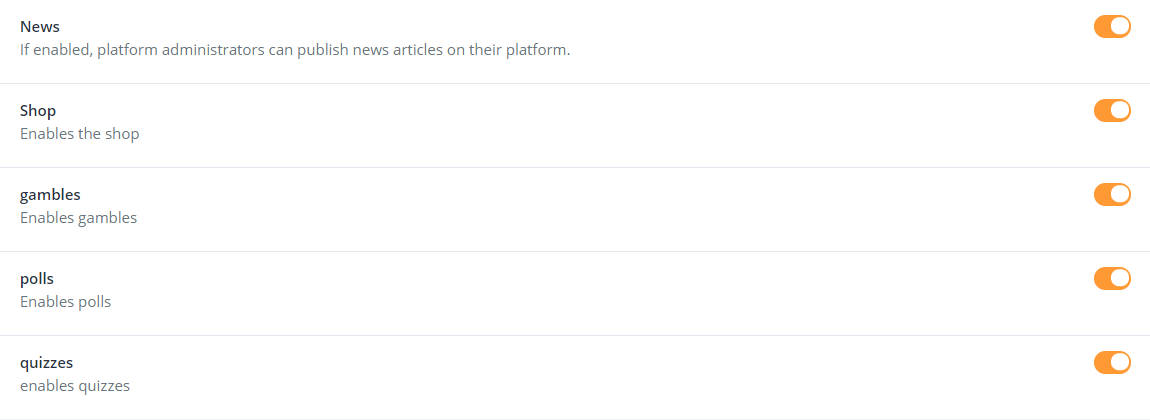
Features
General
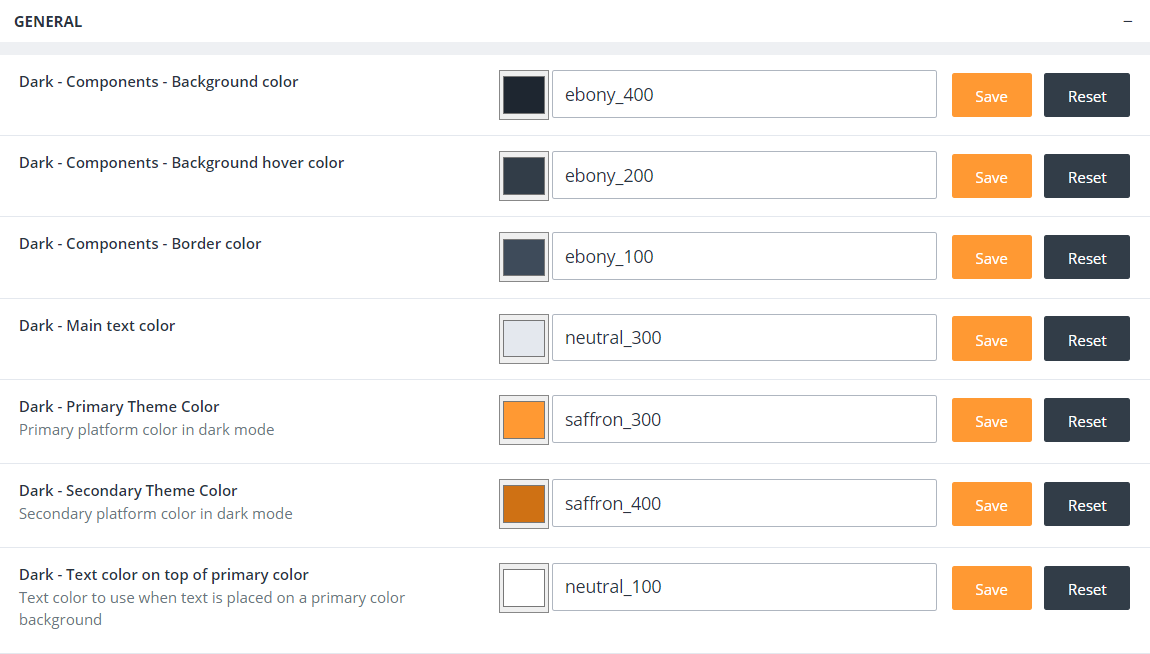
This determines the colors of the framework and theming of the community in dark mode.
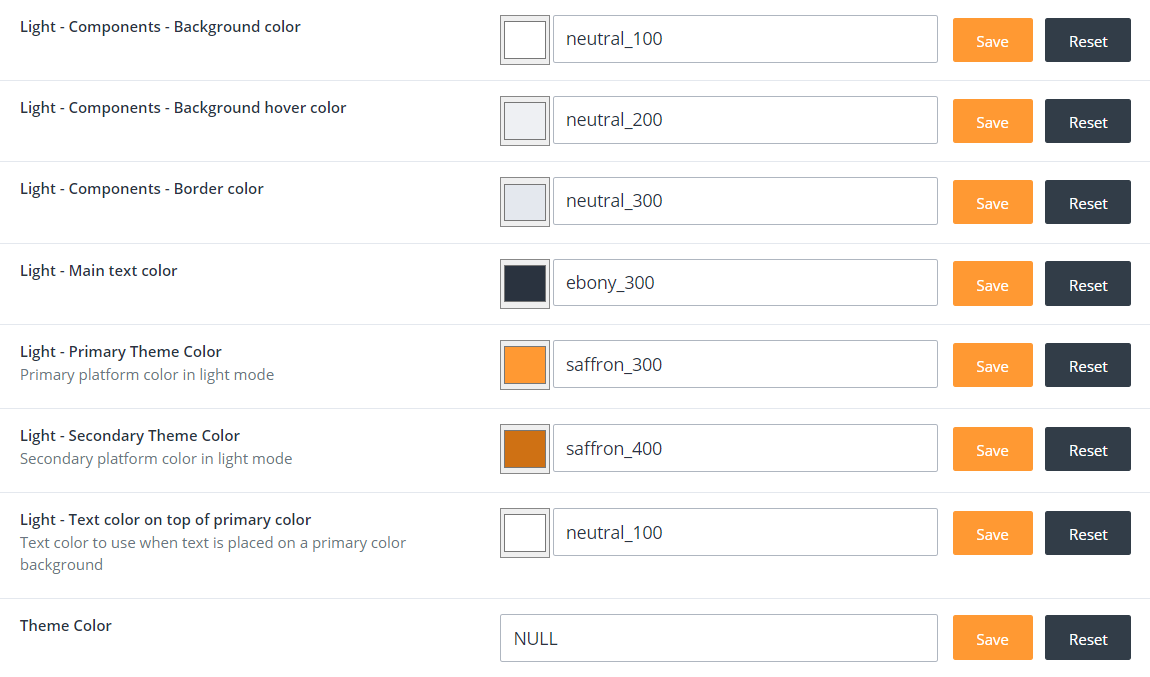
This determines the colors of the framework and theming of the community in light mode.
Leagues
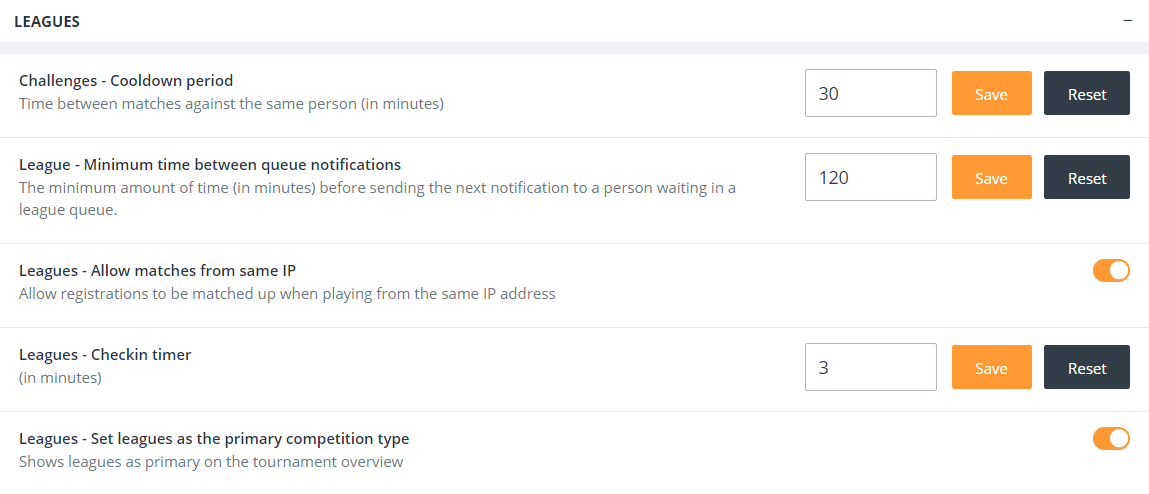
Determine the time between league matches against the same opponent. Number expressed in minutes
Determine the time between queue notification. Number expressed in minutes.
Enable to allow matches from the same IP address.
Set the check-in timer.
Enable to set leagues as the primary competition type within this community.
Partners

Enable to allow partners, brands and bookings.
Redemption codes
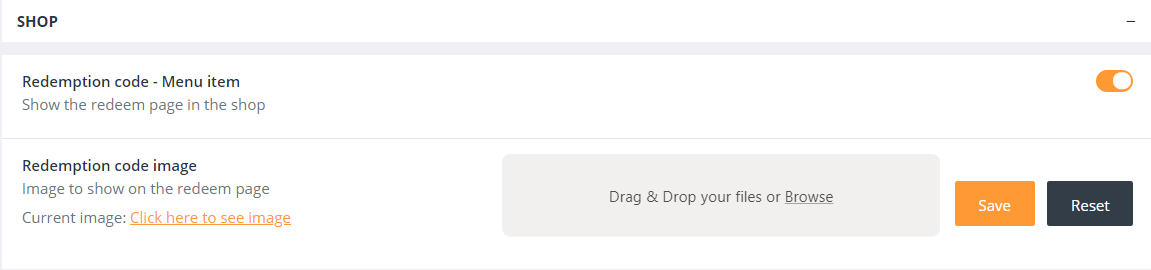
Enable to display the redemption codes page in the shop.
Tournaments
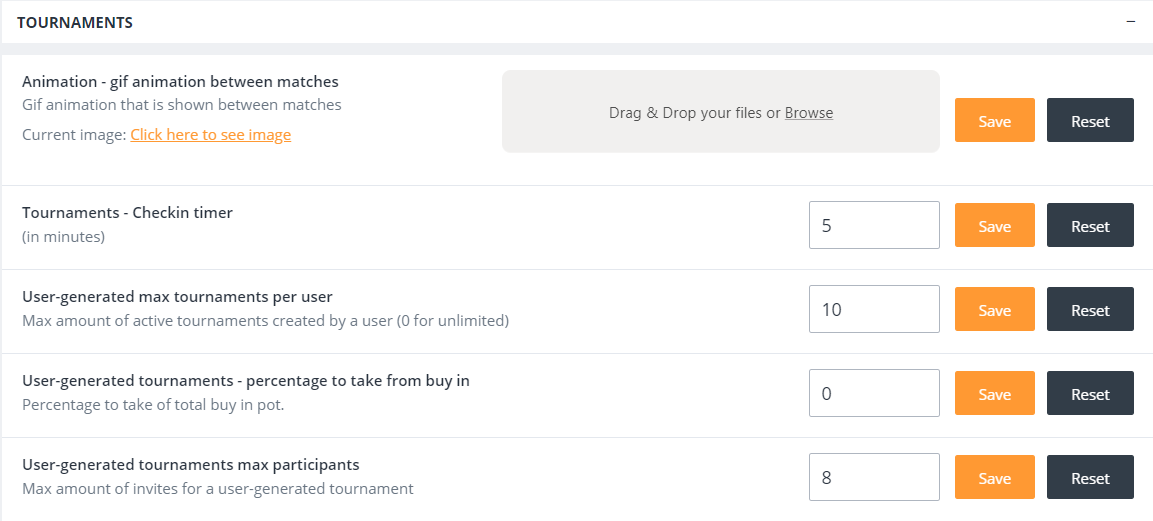
Upload an animation to display between matches.
Set the check-in timer.
Set the limit on user generated tournaments.
Set percentage to take from buy-in profits in user-generated tournaments.
Set maximum amount of participants in user-generated tournaments.
Blocks
Enable which composer page content blocks you want to be available within the community. More information about composer pages and it’s content blocks can be found here
Community bundles
Community bundles are currency bundles made specifically for communities. More information about currencies and currency bundles can be found here.
These community bundles allow communities to set up their own economy, which makes it possible to reward users within a community with coins or any other type of currency.
Via (main platform) Control Panel → Currencies → Community bundles
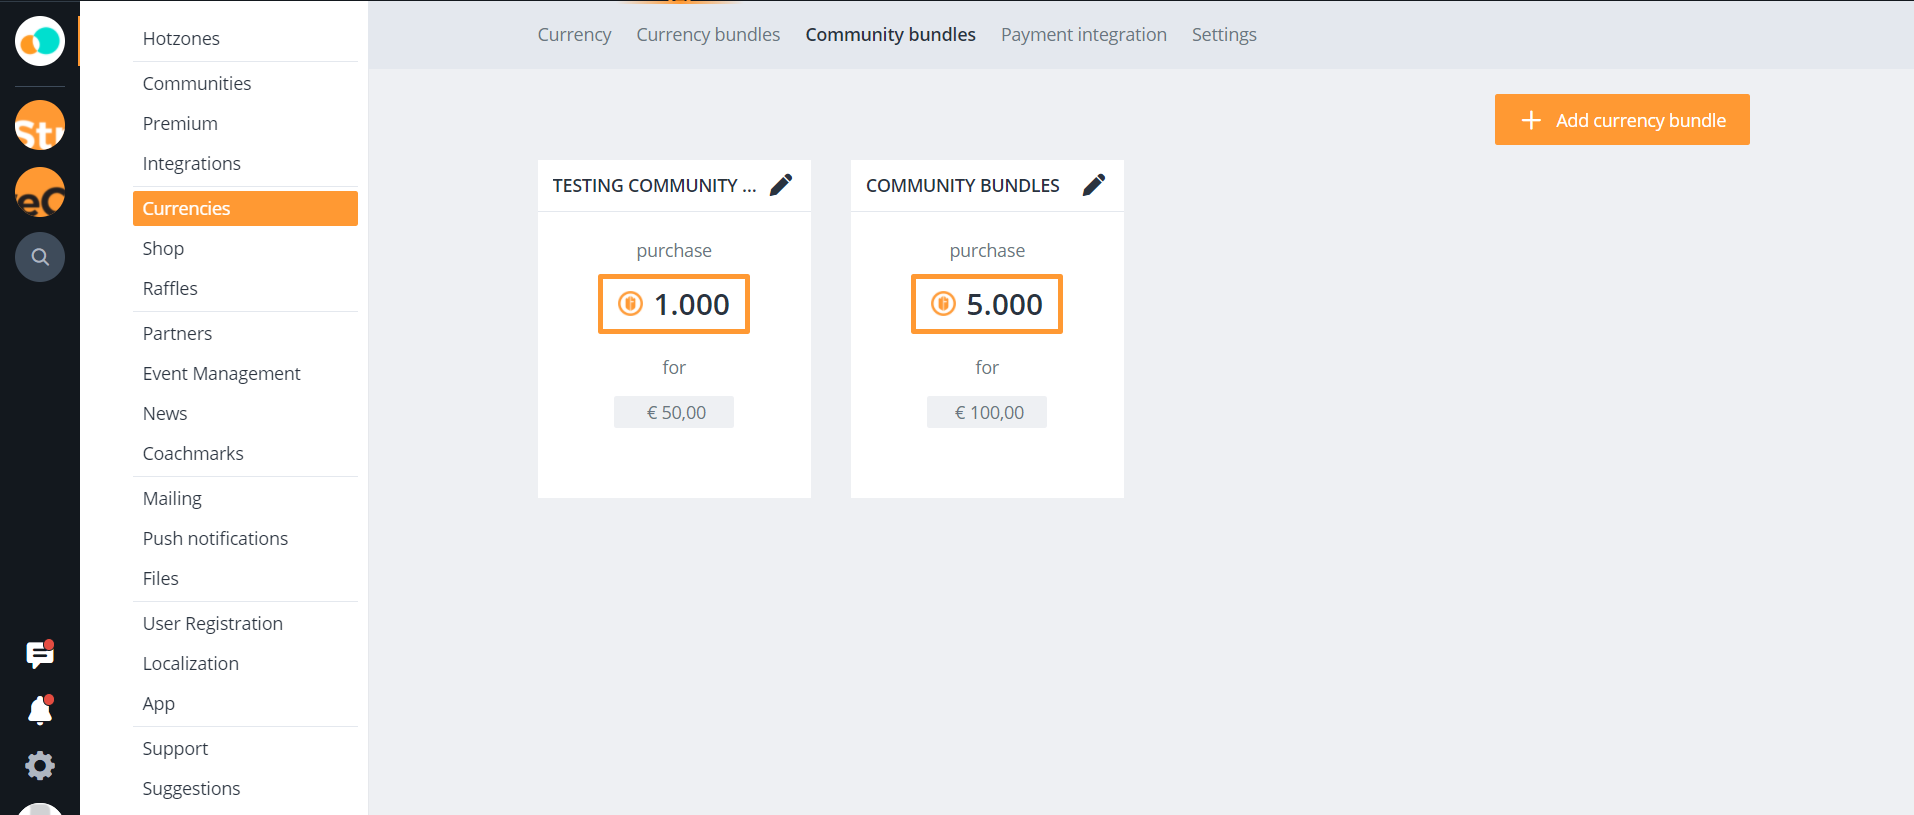
Click the ‘+ Add currency bundle’ to add a new currency bundle:

The following screen will appear:
Name: Submit a name for the new community bundle. Price - amount: Enter the amount that needs to be paid to purchase the community bundle. Price - currency: Select the type of currency that will be used to purchase the community bundle. Product - amount: Enter the amount of currency that will be purchased in return for the price paid. Product - currency: Select the type of currency that will be purchased. | 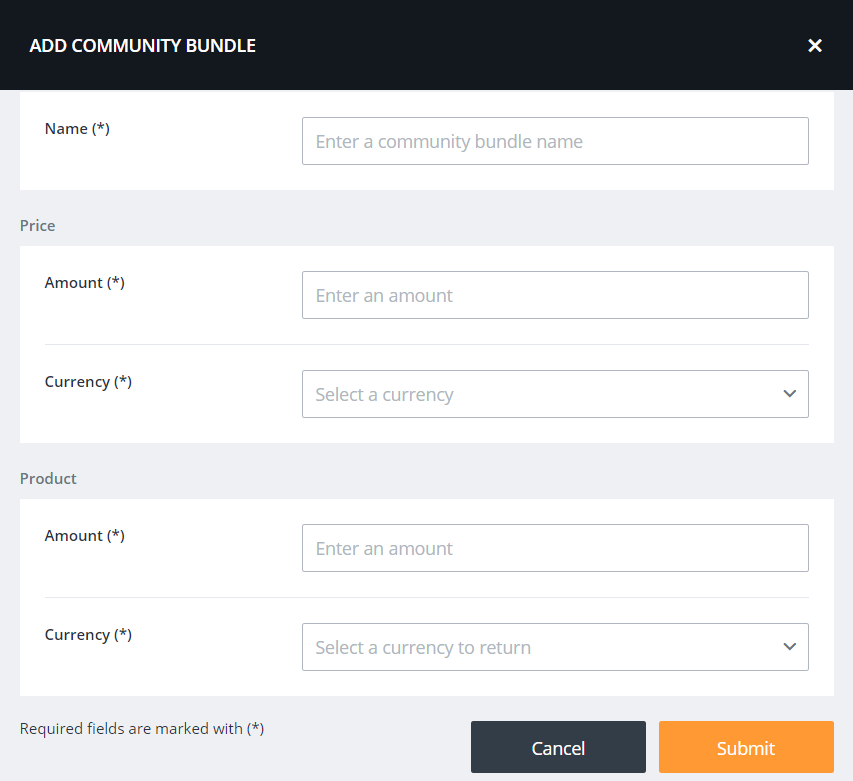 |
|---|
To edit or hide an existing community bundle, click the pencil icon:

Purchasing a community bundle as a community admin
Whenever a community bundle has been set up, community admins can purchase these bundles for their own community.
Via (community) Control Panel → Currencies → Wallet top-up
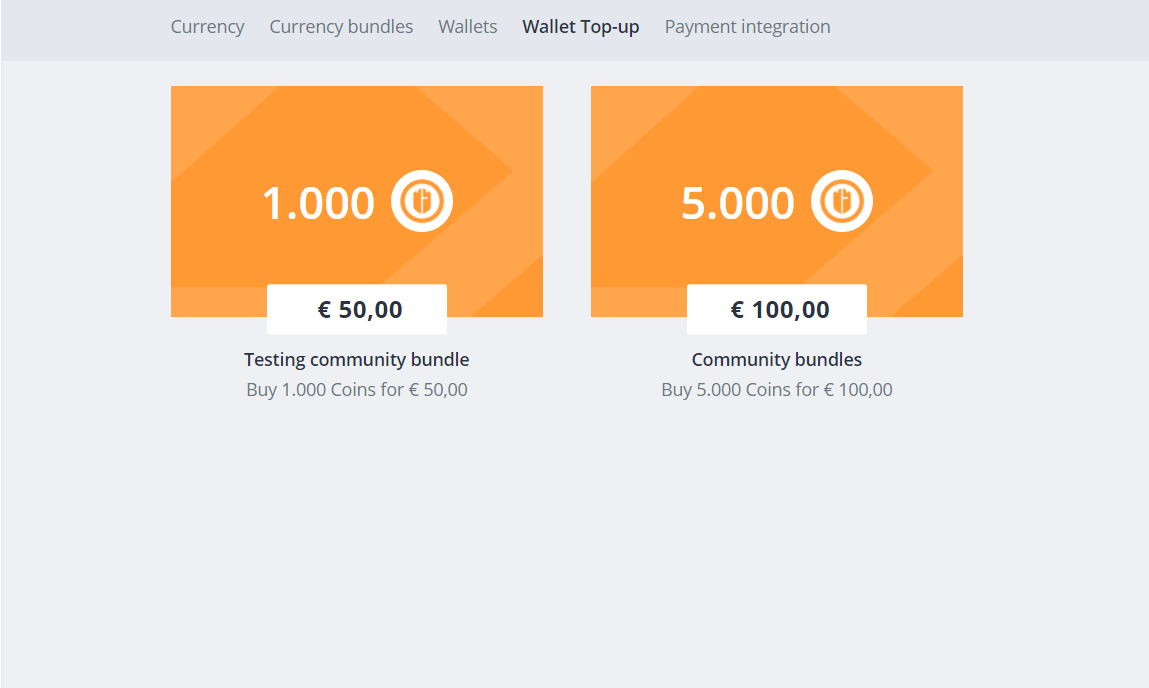
In this menu, you can see the community bundles that have been set up via the method described above. Community admins can purchase platform currency for their own community via these wallet top-ups, allowing them to engage in rewards for community-specific activities.
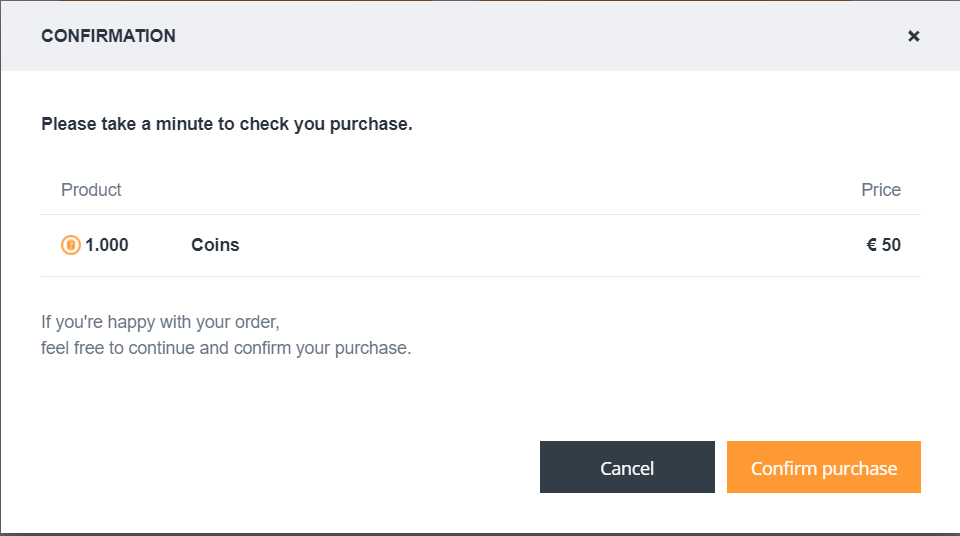
To purchase a community bundle, click the bundle you wish to purchase. The following screen will appear:
When the purchase of the community bundle is completed, the amount of currency is then added to the community’s wallet:
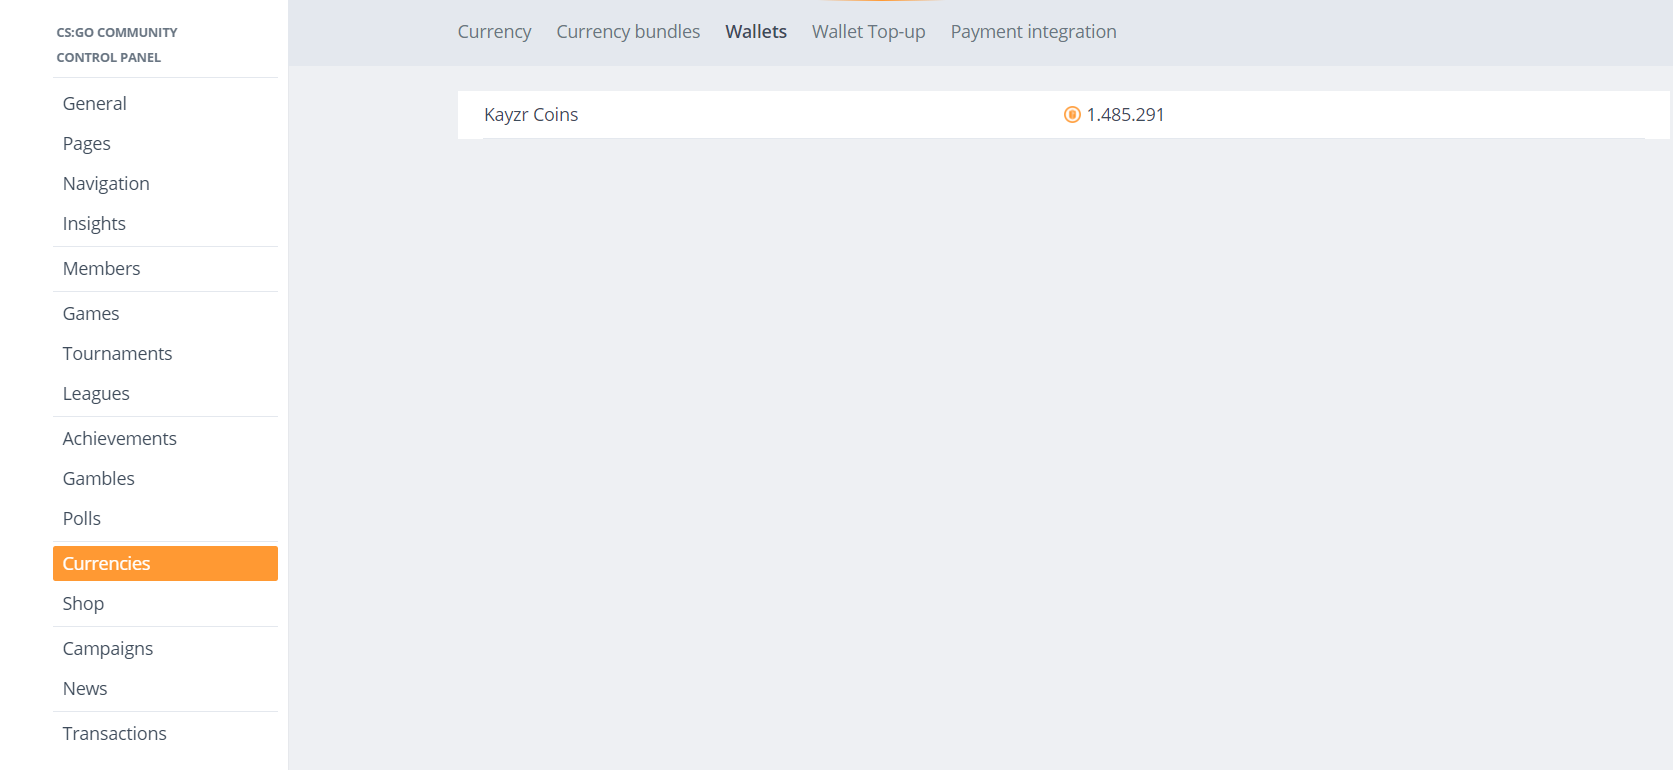
This currency can now be used for all community-specific activities.